Lots of people have asked about my Hutch I painted so here's how it was done. Since my hubby loves junk. He will pick up almost anything off the side of the road. After years of it driving me crazy I have finally decided to embrace it. He picked up the hutch off the side of the road and he fell in love with it. I was not thrilled at all. When we moved he really wanted it in the dinning room. I was picturing a nice china cabinet for the dinning but not him he wanted this!

It's huge! His idea was to stain it and hope I liked it. He said if I didn't he would put it in his man cave but I could tell he really wanted it in the dinning room. He had so many projects that he never got started on it and I got tired of looking at it so off to Pinterest I went! Started checking out painted furniture hutches and fell in love. Hubby was not nearly as convinced and looked at me very skeptical. I think that had something to do with all the unfinished projects I have. But he was a good husband and just warned me it would involve a lot of sanding. So that lead to him buying me my first power tool! It was small and easy to use.

First I had to wipe down and sand the whole thing! The trim I had to use a small sanding block. After the first sanding I wiped down and sanded again! He was right lots of sanding. Hubby was awesome and renailed trim for me and then stood around looking generally concerned.

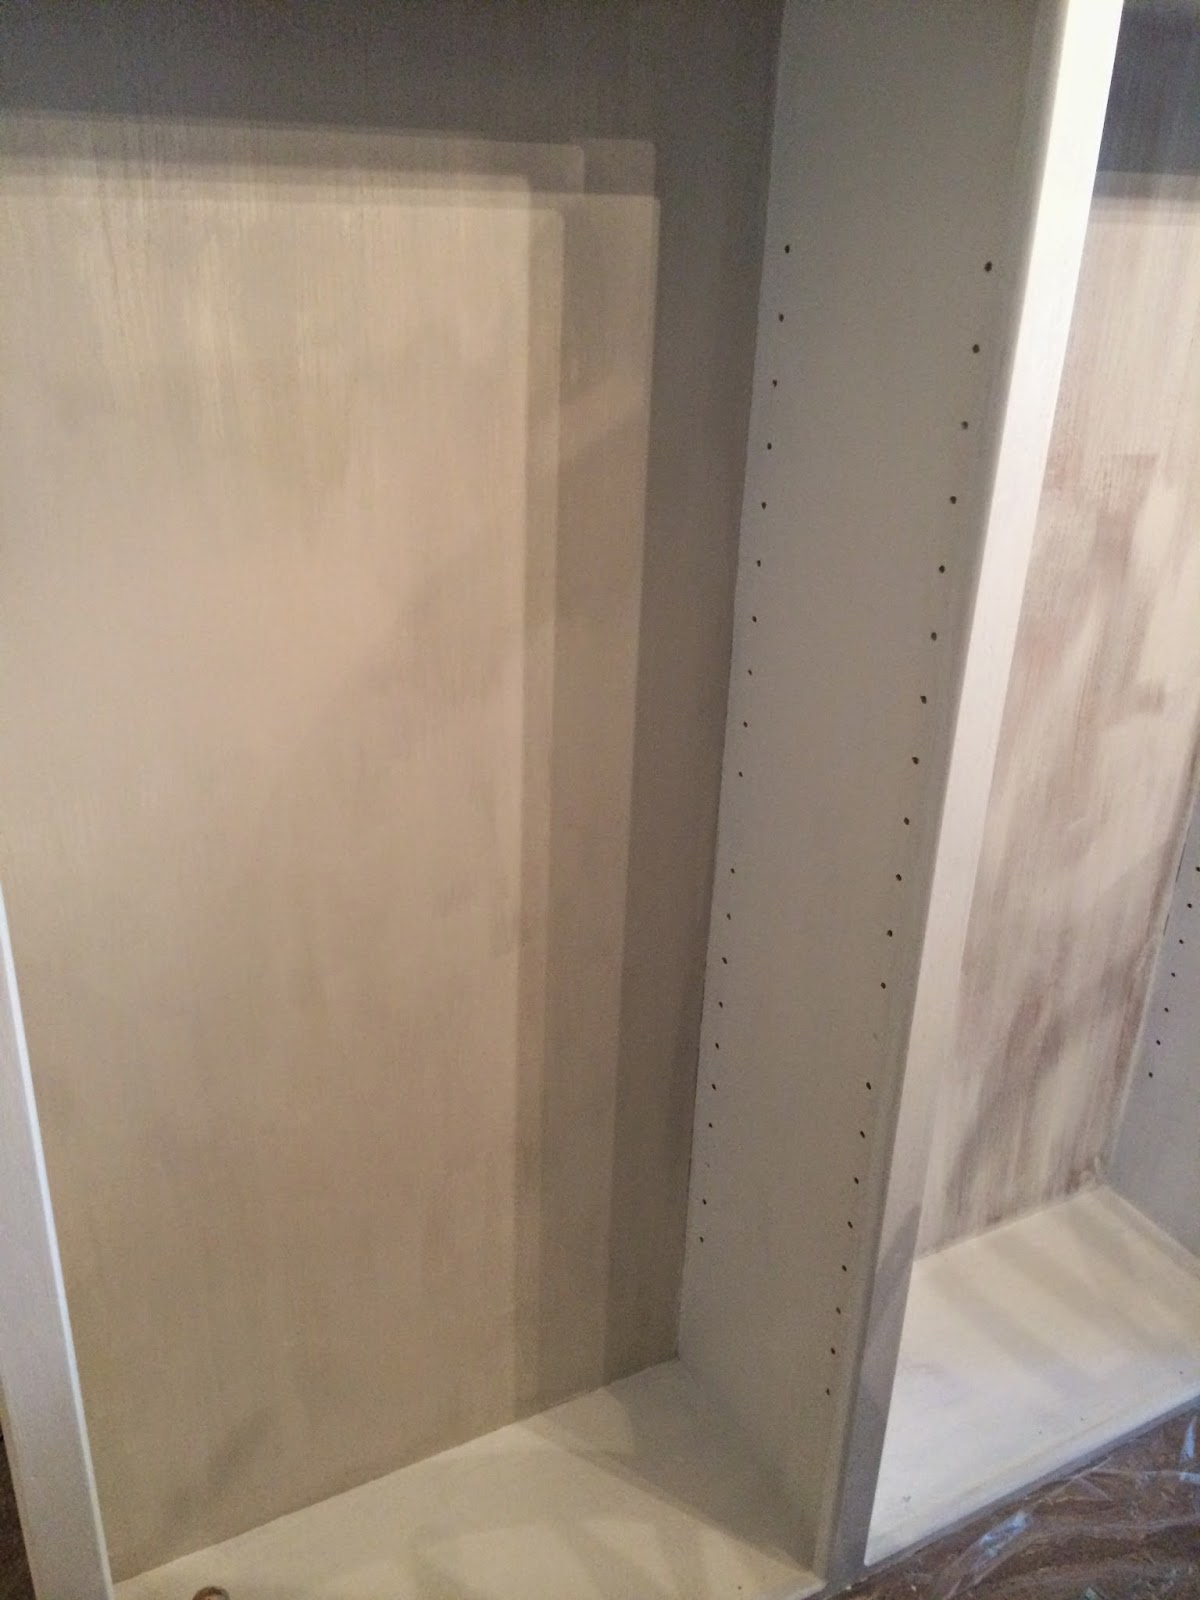
For paint I used the same paint we were using in the dinning room. Thankfully the paint included primer so I didn't need to prime it. I used 3 coats in a white semi gloss. Then I painted the back wall with the agreeable gray that I got at Sherman Williams. I love this color!
I then used it to paint the front of the doors and drawers. When doing this I had to be sure to have a wet washcloth for drips and edging. I think that took almost as long as the whole hutch. I plan on buying new pulls in the future but at the moment I just put the same one back on. Our dinning room is in gray and white with teal, green, and blue accents.

Hubby was right this is way better then a china cabinet and I get to pat myself on the back for a job well done! It doesn't even look like the same cabinet!


